1. Install the Plugin
Start by downloading the EverXP Plugin file from your dashboard or the official EverXP website. Once downloaded, follow these steps to install:
- Go to your CMS or platform admin panel and navigate to Plugins > Add New.
- Click on the Upload Plugin button.
- Select the EverXP Plugin file you downloaded and click Install Now.
- After installation, click Activate Plugin to enable EverXP.
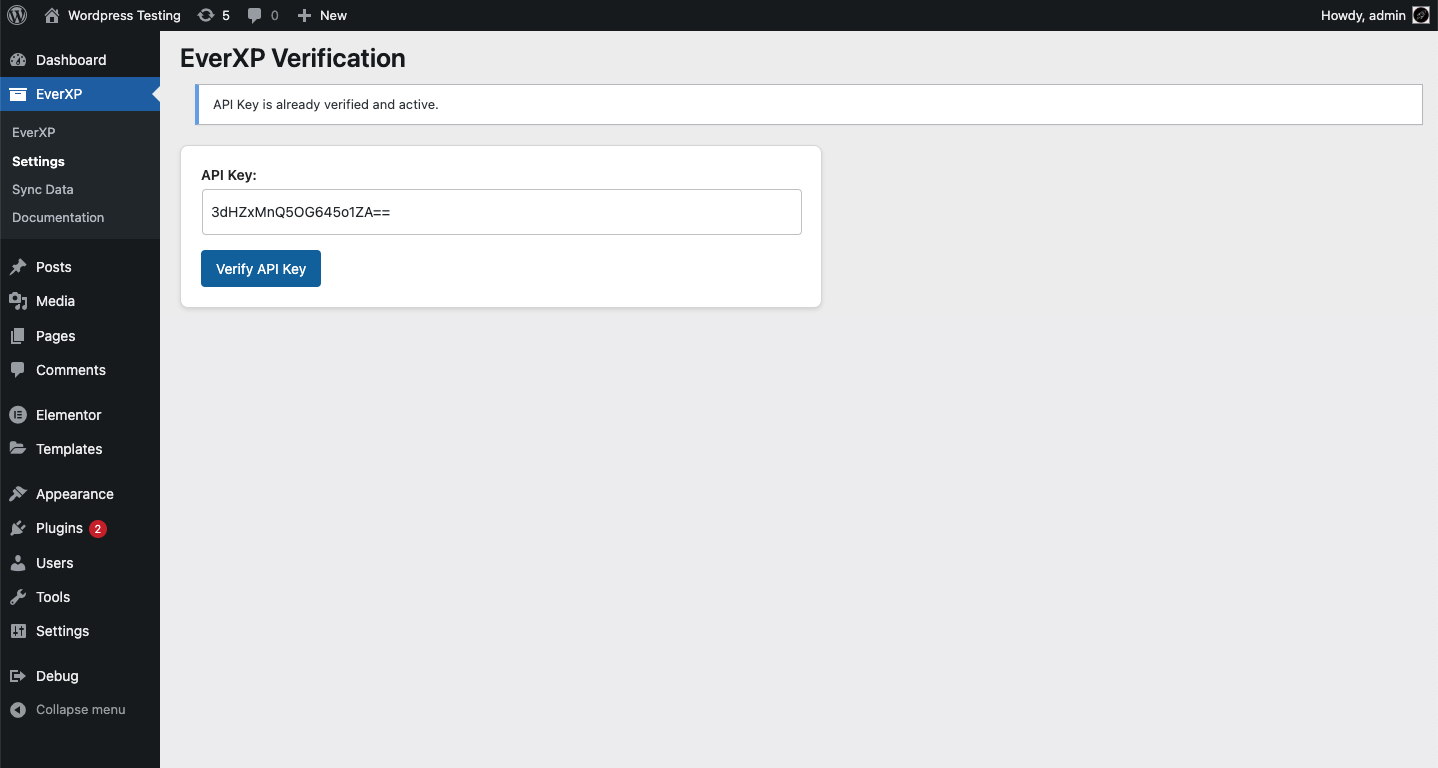
2. Configure Your API Key
Once the plugin is activated, configure your API key to start syncing content. Follow these steps:
- Navigate to the EverXP Settings page from the admin menu: EverXP > Settings.
- Locate the API Key field and enter the API key you received during registration.
- Click Save Changes. The plugin will validate your API key and confirm access.
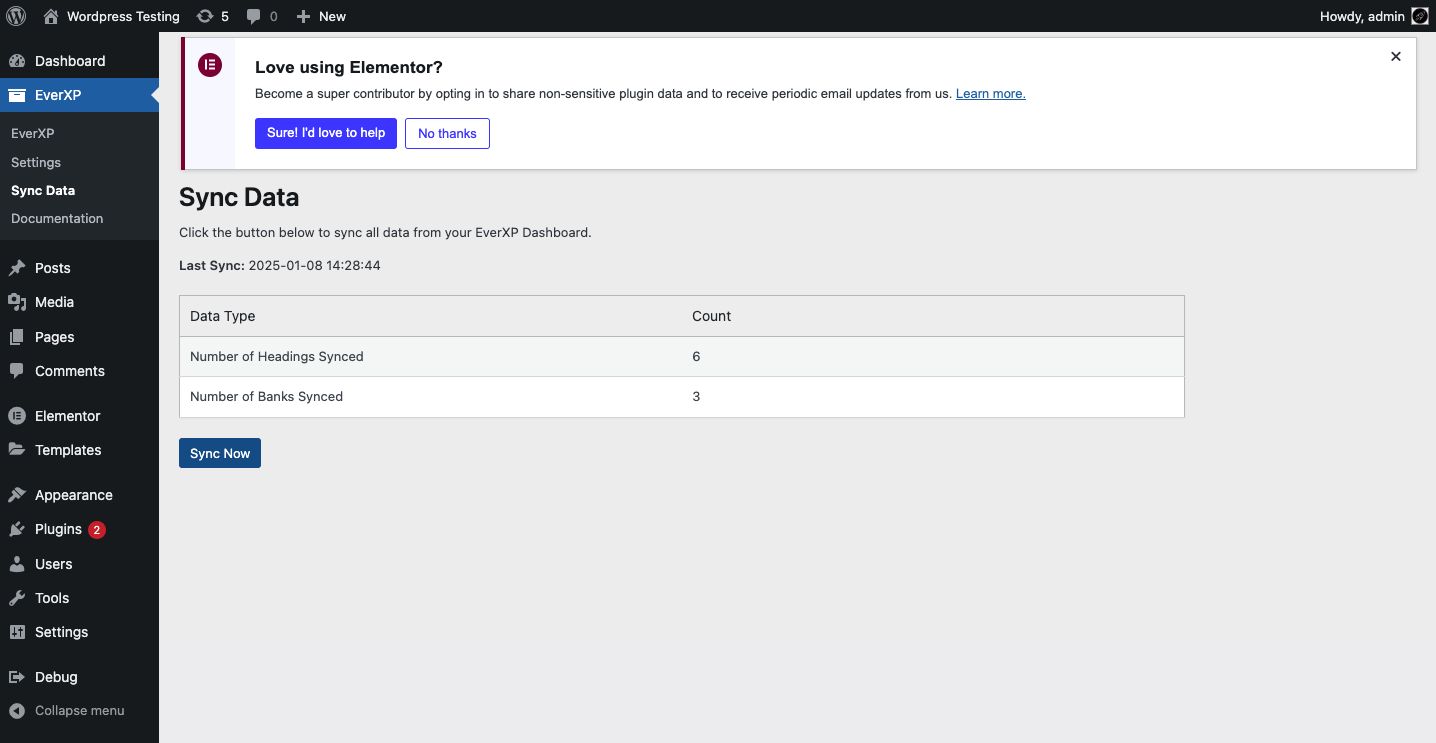
3. Sync Banks and Content
Sync your content banks and other data with EverXP by following these steps:
- Go to the Sync page under EverXP in the admin menu: EverXP > Sync.
- Click the Sync Now button to fetch all your content banks and synced data from EverXP.
- A success message will confirm once the sync is complete.
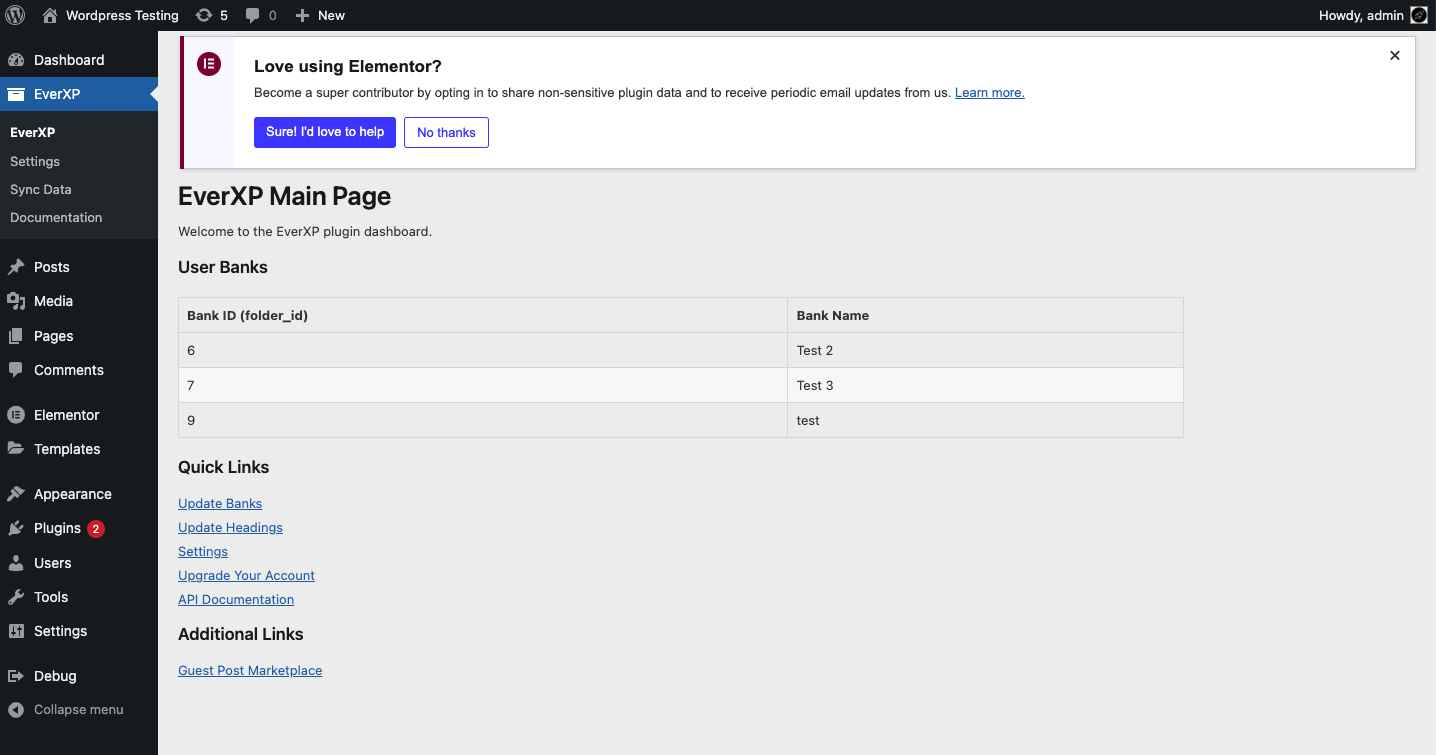
4. View Synced Data
Once synced, you can view all your data in the EverXP Content Banks page:
- Navigate to EverXP > Content Banks.
- View all synced data, including bank IDs, names, and content types.
- Use the Search or Filter options to quickly locate specific items.
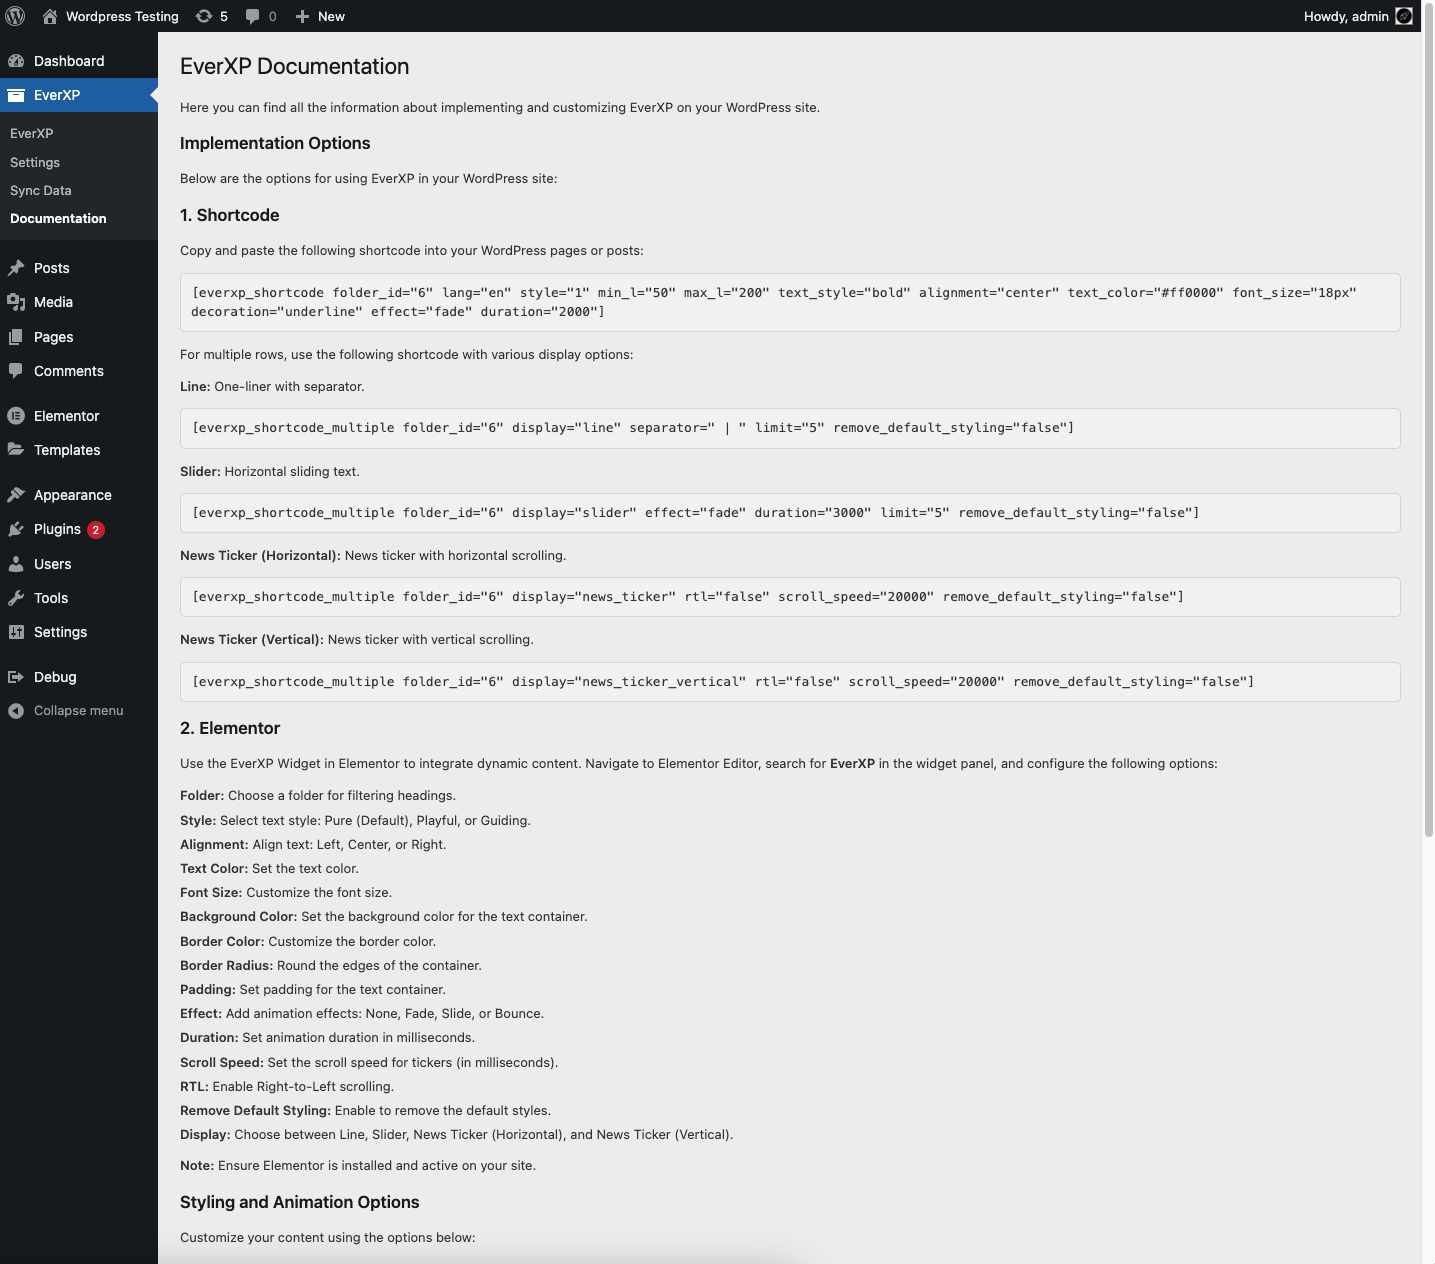
5. Explore Usage Options
Access the documentation to explore advanced usage options:
- Navigate to the Documentation page: EverXP > Documentation.
- Find step-by-step guides for embedding synced data on your website.
- Learn about API examples, multi-language support, and seasonal content integrations.
That's it!
This way you can embed on your Wordpress site, unlimited amount of combinations.
You can set combinations on multiple pages, or specific pages as you wish.
Facing an error? Error codes list